


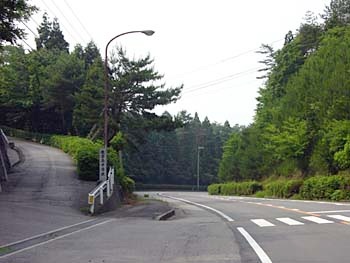


This photo, taken the next morning, shows the hills I was cycling up the previous night. In retrospect, the lower coastal road would have been a much better choice, though it looked longer on the map... On both Tours, my memory was that Noto was a pretty but distressingly hilly end to the 173 km ride on Day Two. This solo trip confirmed that impression.
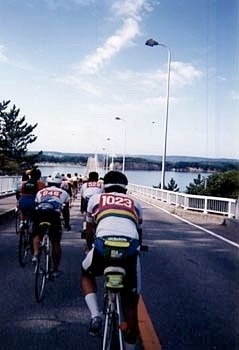
The third and final morning of the Tour begins with this long bridge connecting Notojima with the mainland to the south. (There's another, smaller bridge that I took to get onto the island from the west.) A belated note: all of these Tour photos were taken with a disposable camera shoved into the rear pocket of my cycling jersey and fished out whenever it seemed safe.